Waist Pins User's Manual
🎥 Scroll down to watch our video guide, or click here.
Thank you so much for your purchase! Click a product type below to open its photos and instructions.
Classic Waist Pins View guide + Close guide −
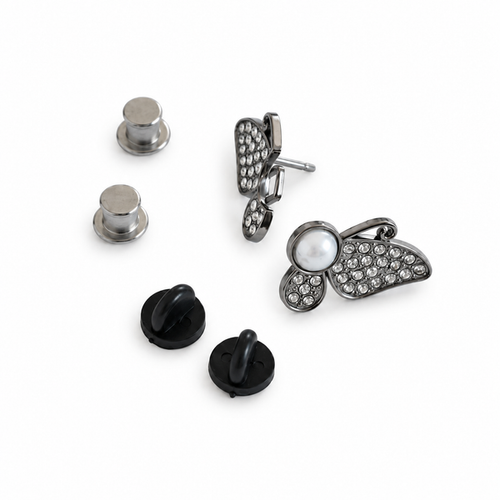
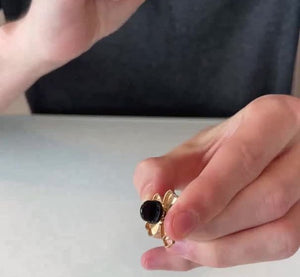
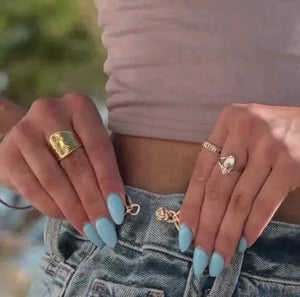
Classic Waist Pins designs
Below are the classic pin designs. Scroll past the photos to learn what's included and how to remove the Classic Pin backs.
If you do not see your design, check Flat Back Waist Pins, PRO Waist Pins or Button Covers.


📦 What's included?
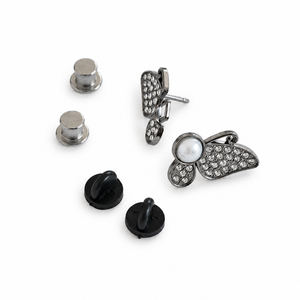
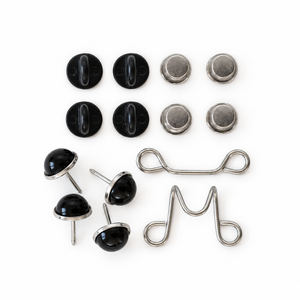
- A soft black velvet pouch, perfect for storage or gifting.
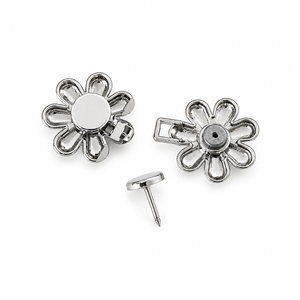
- Two metal pin pieces that hook together.
- Two secure locking metal backs.
- Two additional rubber backs for a softer, more comfortable option.

How to remove the metal pin backs
⚠️ Never pull them straight off! These locking backs are designed for maximum security, especially when used on thick denim.
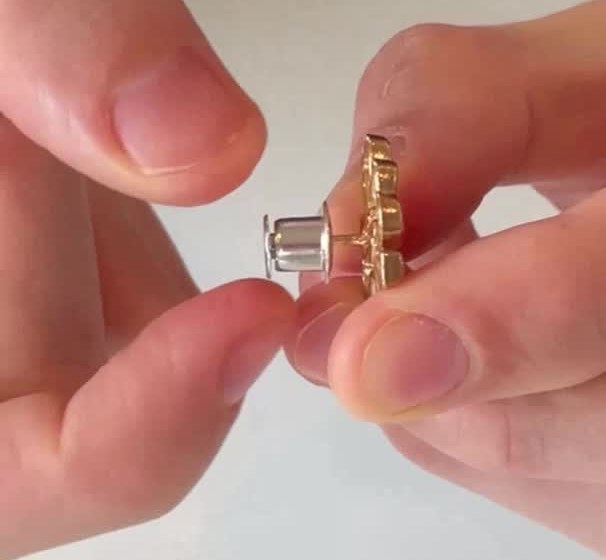
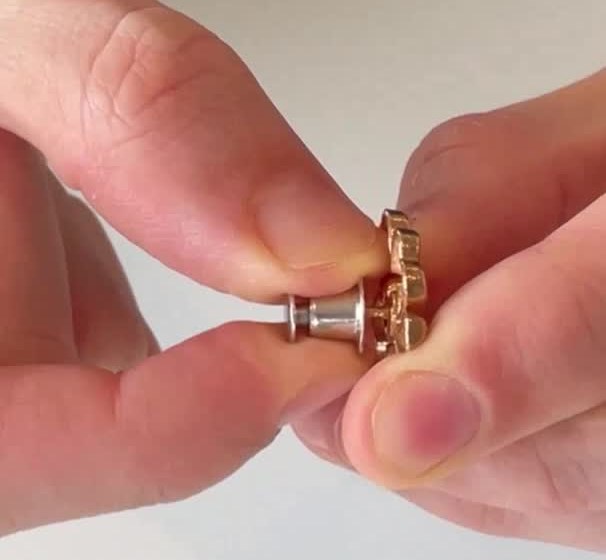
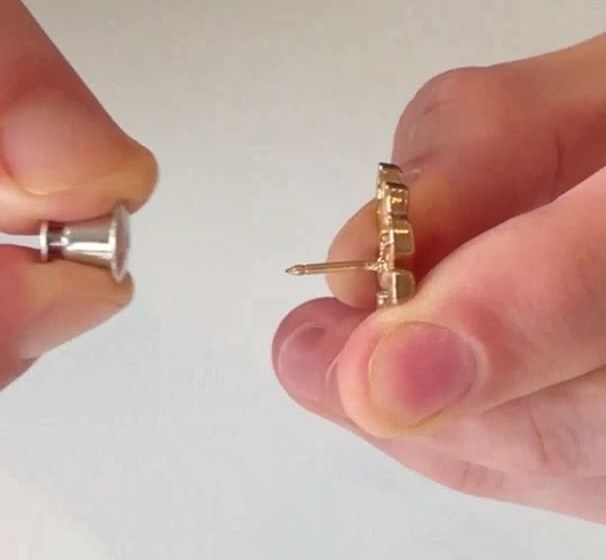
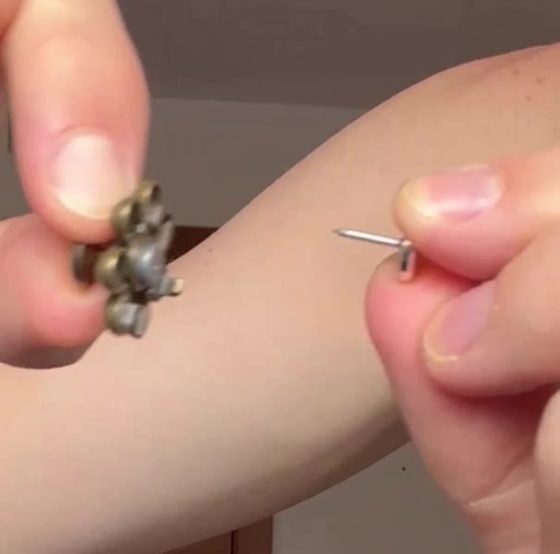
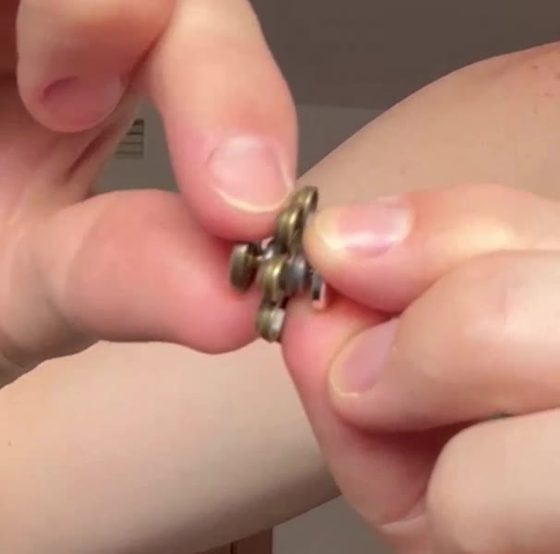
- Push the wider part of the metal back inwards towards the pin.
- Squeeze the entire metal back, including the end which was not pushed inward.
- Pull it gently backwards to remove it.
Always use the Push → Squeeze → Pull method. Pulling the back straight off may damage your Waist Pin.
Using the rubber backs
If you prefer a softer and more comfortable option, simply swap to the included rubber backs. They are easy to fit and remove. A slight twisting motion can sometimes make removal even easier.
🎥 See how to use your Classic Waist Pins.
▶ Watch Classic pins guide — 0:13Flat Back Waist Pins View guide + Close guide −
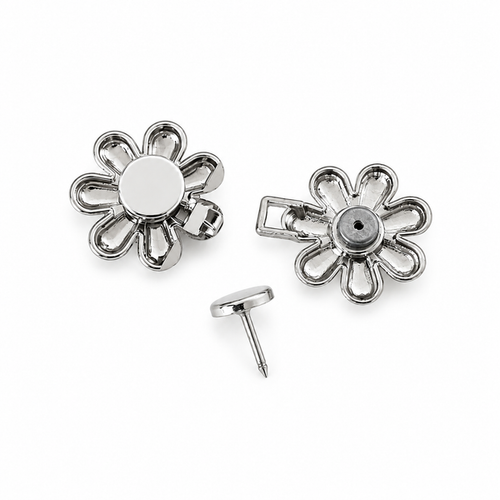
Flat Back Waist Pins designs
These are the Flat Back designs. Scroll past the photos to learn what's included and how to remove the flat backs.
If you do not see your design, check Classic Waist Pins, PRO Waist Pins or Button Covers.


📦 What's included?
- A soft black velvet pouch, perfect for storage or gifting.
- Two Flat Back Waist Pins.

How to remove the flat back
⚠️ Never pull with force!
- Gently pull the front of the Waist Pin away from the pin.
- The flat back will release easily.
Always remove the flat back by gently pulling the front of the Waist Pin.
🎥 See how to use your Flat Back Waist Pins.
▶ Watch Flatback pins guide — 1:02PRO Waist Pins View guide + Close guide −
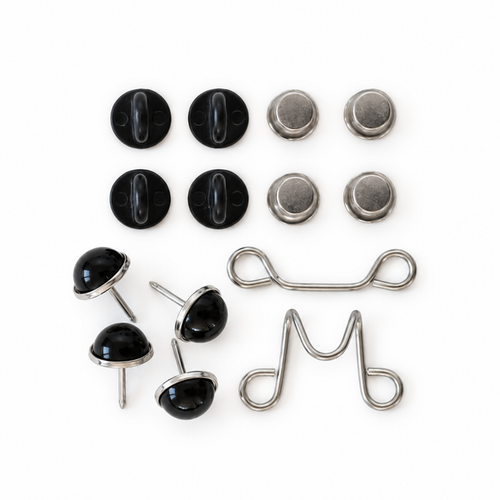
PRO Waist Pins designs
This is the only current PRO pin design.
If you do not see your design, check Classic Waist Pins, Flat Back Waist Pins or Button Covers.

📦 What's included?
- A soft black velvet pouch, perfect for storage or gifting.
- Four metal pin pieces.
- Two metal connecting bars.
- Four secure locking metal backs.
- Four additional rubber backs.

How to remove the locking metal backs
⚠️ Never pull them straight off! The PRO locking metal backs use the same removal method as our Classic Waist Pins.
- Push the wider part of the metal back inwards towards the pin.
- Squeeze the entire metal back, including the end which was not pushed inward.
- Pull it gently backwards to remove it.
Always use the Push → Squeeze → Pull method. Pulling the back straight off may damage your Waist Pin.
How to use PRO Waist Pins
PRO Waist Pins work differently from our Classic and Flat Back Waist Pins. Watch the video below to see how to fit and remove them.
🎥 Jump straight to the PRO Waist Pins instructions.
▶ Watch PRO pins guide — 1:13Button Covers View guide + Close guide −
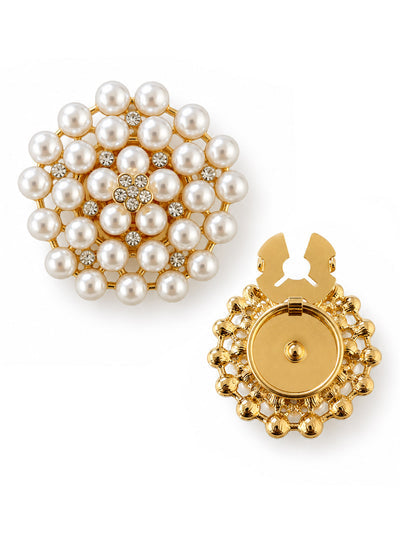
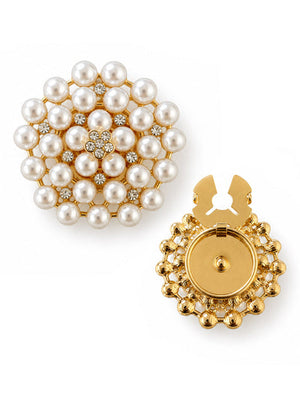
Button Covers designs
Scroll past the photos to see what is included and how to attach a Button Cover. If you do not see your design, check Classic Waist Pins, Flat Back Waist Pins or PRO Waist Pins.


📦 What's included?
- Two matching Button Covers.
- A soft black velvet pouch, perfect for storage or gifting.
How to attach a Button Cover
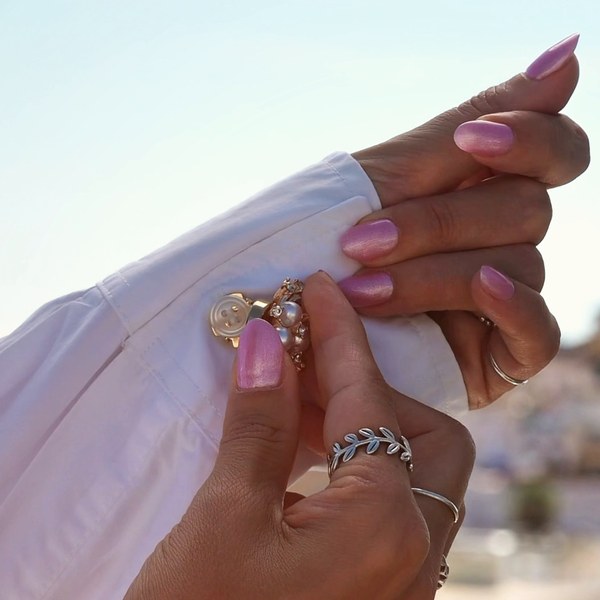
- Open the Button Cover.
- Slide the open cover over the button you want to cover.
- Close the cover and press down until it clicks securely into place.
🧼 Important Tip
Always remove Waist Pins and Button Covers before washing your clothes.
Washing with them attached may damage them or increase the risk of losing them.
🎥 Video Guide
🔊 Turn on sound to hear the instructions!